
Archery, a practice that combines precision, focus, and skill, requires a delicate balance of technique and body mechanics. Learning how to draw a bow effectively is fundamental to becoming a proficient archer.
This article will guide you through the essential steps involved in drawing a bow, focusing on critical techniques and tips that can enhance your performance and consistency. Whether you are a beginner or looking to refine your skills, understanding the fundamental concepts of stance, hook, draw, execution, and follow-through will provide a solid foundation for your archery practice. Each of these elements plays a vital role in ensuring that your shots are accurate and repeatable.
📑 Table of ContentsJump to any section in this guide 11 sectionsView contentsHide contents
- Understanding Your Stance in Archery
- The Importance of the Hook Technique
- Mastering the Draw Technique
- Execution and Expansion Techniques
- The Significance of Follow-Through
- What a Good Draw Should Feel Like
- Tips for Learning How to Draw a Bow Effectively
- Common Beginner Mistakes When Drawing a Bow
- What Draw Weight Should You Start With?
- How to Practice the Draw Safely
- Frequently Asked Questions
The Draw Sequence at a Glance
- Stance — feet positioned comfortably, perpendicular to the target.
- Posture — stand tall with your back straight.
- Grip — relaxed bow hand in the web of your grip.
- Nock / set — nock the arrow and set your hook the same way every time.
- Raise — lift the bow toward the target.
- Draw — one smooth motion, powered by your back.
- Anchor — string hand to the same reference point.
- Aim — focus on a small spot on the target.
- Release — relax the string fingers cleanly.
- Follow through — hold your position until the arrow lands.
Understanding Your Stance in Archery
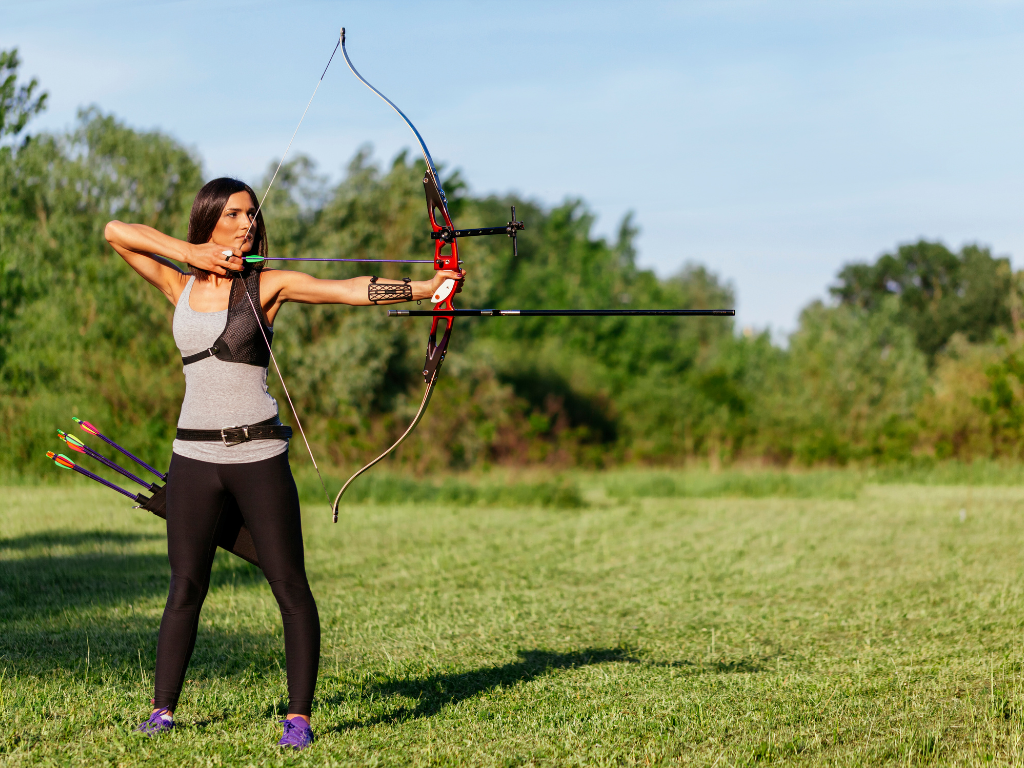
Your stance is the cornerstone of your shot. It significantly impacts your alignment and balance, which are crucial for consistent shooting. A proper stance allows for optimal energy transfer from your body to the bow, which is essential for accuracy.
There are generally two types of stances used in archery:
- Slightly Open Stance: This involves positioning your string-side foot slightly ahead of your bow-side foot. This alignment allows your hips to open towards the target, promoting better torso rotation and alignment of your shoulders.
- Basic Stance: In this stance, both feet are aligned parallel to the target. This alignment can help in keeping your shoulders square, but it might lack the tension needed for a powerful shot.
Choose a stance that feels natural and allows you to comfortably hold the bow. Experiment with different positions to find what works best for your body type and shooting style. A consistent stance is the first step towards reliable shooting.
The Importance of the Hook Technique
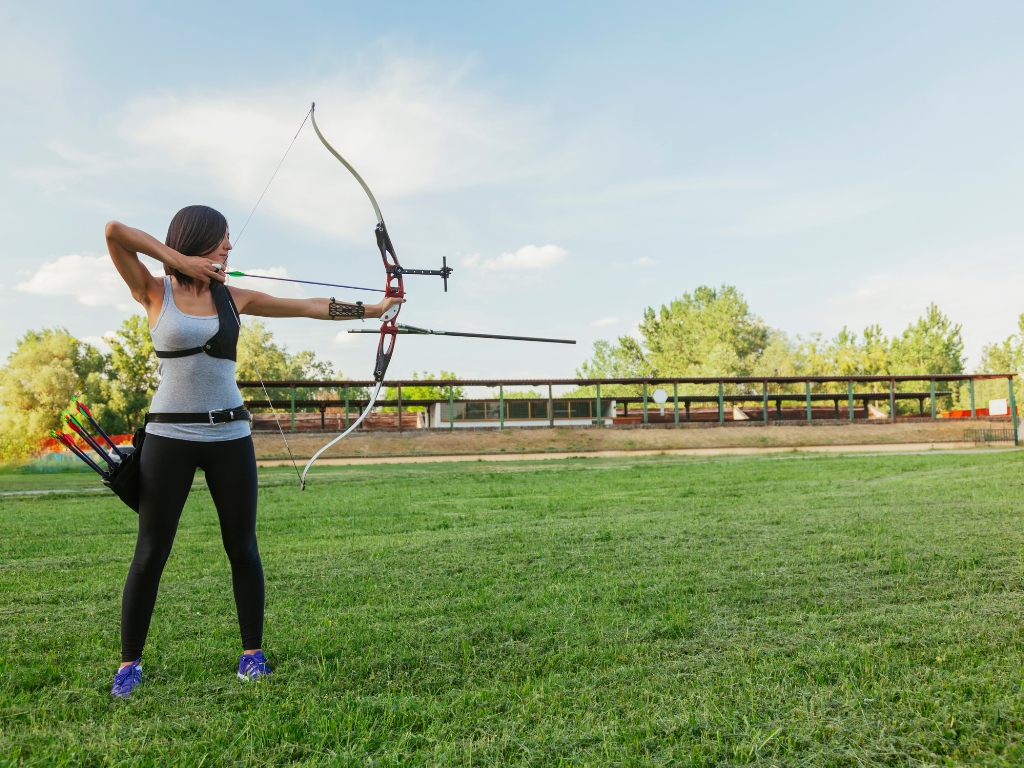
Gripping the bowstring correctly is crucial for achieving a consistent release. The hook technique refers to how you position your fingers around the string, and there are two primary methods: shallow and deep hooks.
Each method has its benefits:
- Shallow Hook: In this method, your fingers are positioned closer to the tips, allowing for a quicker and cleaner release. However, this may create more tension in your hand, which could affect your shot.
- Deep Hook: Here, the hook is deeper, with fingers gripping the string between the distal and proximal joints. This approach can lead to a more relaxed grip, but the release may feel less smooth due to the greater movement required.
Finding the right hook technique is essential for how you draw the bowstring and engage your back muscles. Experimenting with both methods can help you determine which provides greater comfort and control during your shots.
Mastering the Draw Technique
The draw technique is critical in archery, as it determines how effectively you can use your back muscles and maintain stability. There are two primary styles of drawing the bowstring: linear and angular.
Consider the following:
- Linear Draw: Commonly used by Korean archers, this technique involves drawing the bowstring directly back in a straight line towards your anchor point. This method helps maintain alignment and can engage your back muscles efficiently.
- Angular Draw: Popular among American archers, this method involves moving the bowstring outwards before drawing it back to the anchor. This style allows for a more natural range of motion but may require more upper-body strength.
Practicing both styles can enhance your ability to adapt to different shooting situations and improve your overall strength and control.
Execution and Expansion Techniques
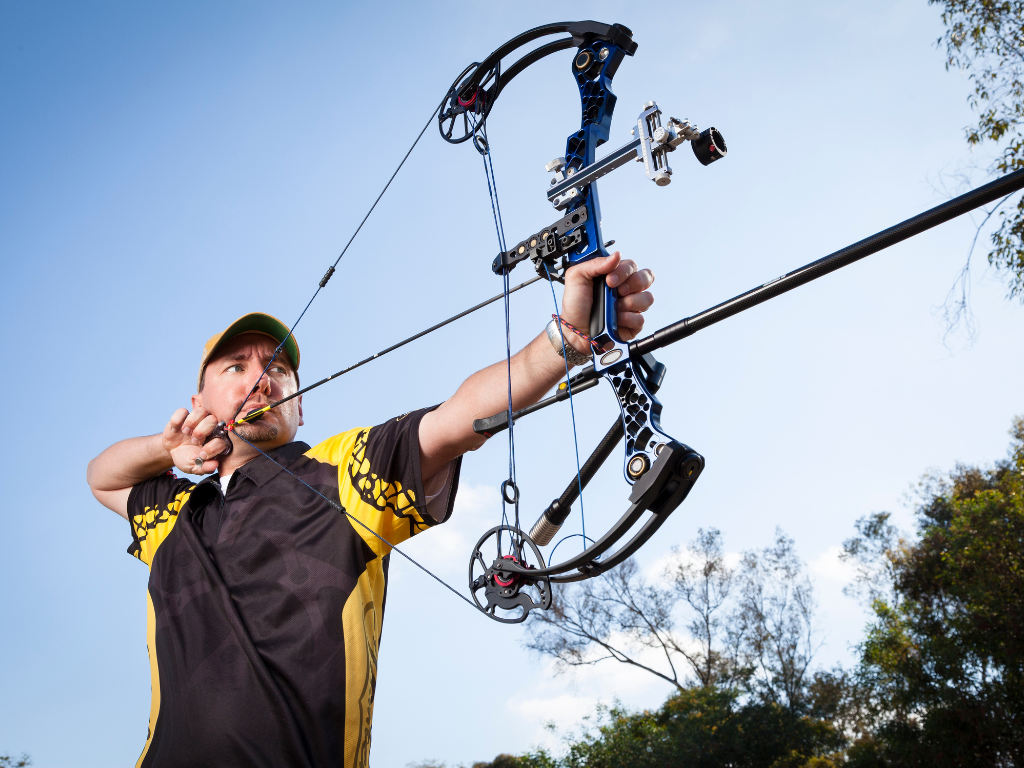
The execution phase is where the mechanics of your shot come together, and the arrow is released. This phase can be broken down into various methods, primarily focusing on the pull, push, or a combination of both.
Here are the key approaches:
- Pull Through the Clicker: Most beginners start by simply pulling through the clicker, which helps them become familiar with the mechanics of the release.
- Push Through the Clicker: This method requires greater body awareness, as you need to push the riser away from your face as you draw. It helps stabilize your anchor point but can be challenging to master.
- Combining Pull and Push: This technique, known as expanding through the clicker, takes time to synchronize but can lead to a more fluid release.
Your goal during execution is to maintain a strong connection between your back muscles and the bow while keeping your bow arm steady. The more consistent your execution, the more accurate your shots will be.
The Significance of Follow-Through
Just as in other sports, follow-through is essential in archery. It ensures that your shot is completed smoothly and effectively. A well-executed follow-through can improve your shooting consistency and accuracy.
Indicators of a good follow-through include:
- Your string hand naturally moves away from the bow after releasing the arrow.
- A strong posture that maintains core stability and keeps the arms raised in a "T" shape.
- Continuing to focus on your target post-release helps reinforce good shooting habits.
Practicing follow-through will not only enhance your shooting technique but also contribute to a more controlled and accurate shot. It may take time to develop this habit, but the results will be evident in your performance.
What a Good Draw Should Feel Like
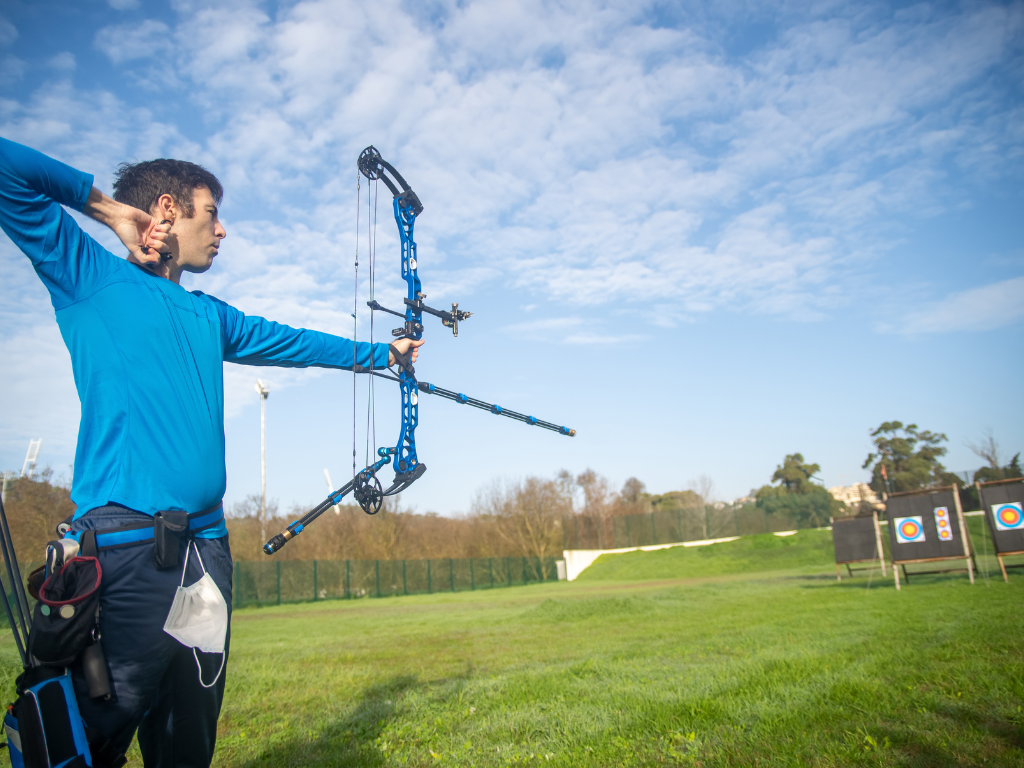
When everything comes together, a good draw feels like this: stable posture under you, a relaxed bow hand, the string coming back in one smooth motion driven by your back, arriving at a repeatable anchor, and a controlled release followed by continued follow-through. If the draw feels like arm wrestling, something is off — usually too much draw weight or a grip that's too tight.
Tips for Learning How to Draw a Bow Effectively
Learning to draw a bow is a journey that involves practice, patience, and dedication. Here are some additional tips to help you along the way:
- Practice Regularly: Consistency is key in archery. Set aside time each week to practice, focusing on refining your technique.
- Record Your Sessions: Filming your practice can help you analyze your form and identify areas for improvement.
- Seek Professional Instruction: Consider working with a coach or experienced archer who can provide personalized feedback and guidance.
- Watch and Learn: Study videos of professional archers to understand their techniques and see how they execute each phase of the shot.
- Stay Relaxed: Tension can hinder your performance, so practice relaxation techniques to maintain focus and composure.
By incorporating these tips into your practice routine, you can enhance your understanding of how to draw a bow and improve your overall archery skills. Remember, the journey to proficiency is ongoing, and every shot offers an opportunity to learn and grow.
Common Beginner Mistakes When Drawing a Bow
- Gripping the bow too tightly — a death grip causes torque and inconsistent arrow flight. Your grip should be relaxed enough that someone could slide the bow out of your hand.
- Drawing with arm instead of back — using your bicep leads to fatigue and shoulder strain. Focus on squeezing your shoulder blades together to engage the rhomboids.
- Sky drawing — pointing the bow upward while drawing is dangerous (arrows can fly over the target) and banned at most ranges. Always draw with the bow pointed at or slightly below the target.
- Inconsistent anchor point — a floating anchor means floating arrow impact. Practice bringing your hand to the exact same spot on your face every draw.
- Hitching during the draw — pausing mid-draw makes it harder to reach anchor smoothly and tires your muscles. Draw in one continuous, fluid motion.
- Starting with too much draw weight — you can't learn proper form if you're fighting the bow. Start light (15-25 lbs for adults) and increase gradually.
- Peeking after release — dropping your bow arm to watch the arrow fly deflects the shot. Hold your position until you hear the arrow hit the target.
What Draw Weight Should You Start With?
Choosing the right draw weight is one of the most important decisions for a new archer. Starting with too much weight is the #1 mistake that leads to bad form and frustration. Here are general recommendations based on age and physical build:
| Archer Profile | Recommended Starting Draw Weight | Can Increase To |
|---|---|---|
| Adult male (average build) | 20-25 lbs | 30-40 lbs after 2-3 months |
| Adult female (average build) | 15-20 lbs | 25-30 lbs after 2-3 months |
| Teenager (13-17) | 15-20 lbs | 20-30 lbs after practice |
| Youth (9-12) | 10-15 lbs | 15-20 lbs after practice |
| Child (under 9) | 8-12 lbs | 10-15 lbs after practice |
Remember: you can always increase draw weight later as you build form and muscle memory. Most recurve bows have interchangeable limbs, and compound bows typically offer a wide adjustment range (often 10+ lbs of draw weight adjustment). Start light, build form, then go heavier. An archer with perfect form and a 25 lb bow will outshoot someone struggling with a 40 lb bow every time.
How to Practice the Draw Safely
- Use a safe range or backstop — and always point the bow at or below the target while drawing; never sky-draw.
- Inspect your equipment — string, limbs and arrows — before every session.
- Never dry-fire — drawing and releasing without an arrow can damage the bow and injure you.
- Start at a comfortable distance — form first, distance later.
- Focus on one element at a time — hook today, anchor tomorrow.
- Stop if form breaks down — tired repetitions train bad habits.
For the wider practice framework — session structure, blank-bale work and shot logs — see our perfecting your bow and arrow skills guide.
Frequently Asked Questions
Set your stance first, hook the string consistently, then raise the bow toward the target and draw in one smooth motion using your back muscles, bringing the string hand to the same anchor point every time before aiming and releasing with a complete follow-through.
Relaxed. The bow rests in the web of your bow hand with fingers relaxed — tight enough not to drop it, loose enough that a tight grip doesn't torque the bow at release. A death grip is one of the most common beginner mistakes.
Wherever it is comfortable, repeatable and lets you align consistently — for many archers the string hand touches the corner of the mouth or under the chin. The exact spot matters less than hitting the same spot on every single shot.
Usually because the draw weight is too high or the draw is being done with the arm instead of the back. Dropping to a lighter draw weight and drawing with your back muscles usually fixes the shake within a few weeks.
Follow-through means holding your position after the release: the string hand continues naturally back, the bow arm stays up, and you keep watching the target until the arrow lands. It prevents the shot from being disturbed at the last moment.
At a range with a proper backstop, with the bow always pointed at or below the target — never draw toward the sky, and never dry-fire a bow without an arrow. Start at close range with a light draw weight and focus on one element at a time.