
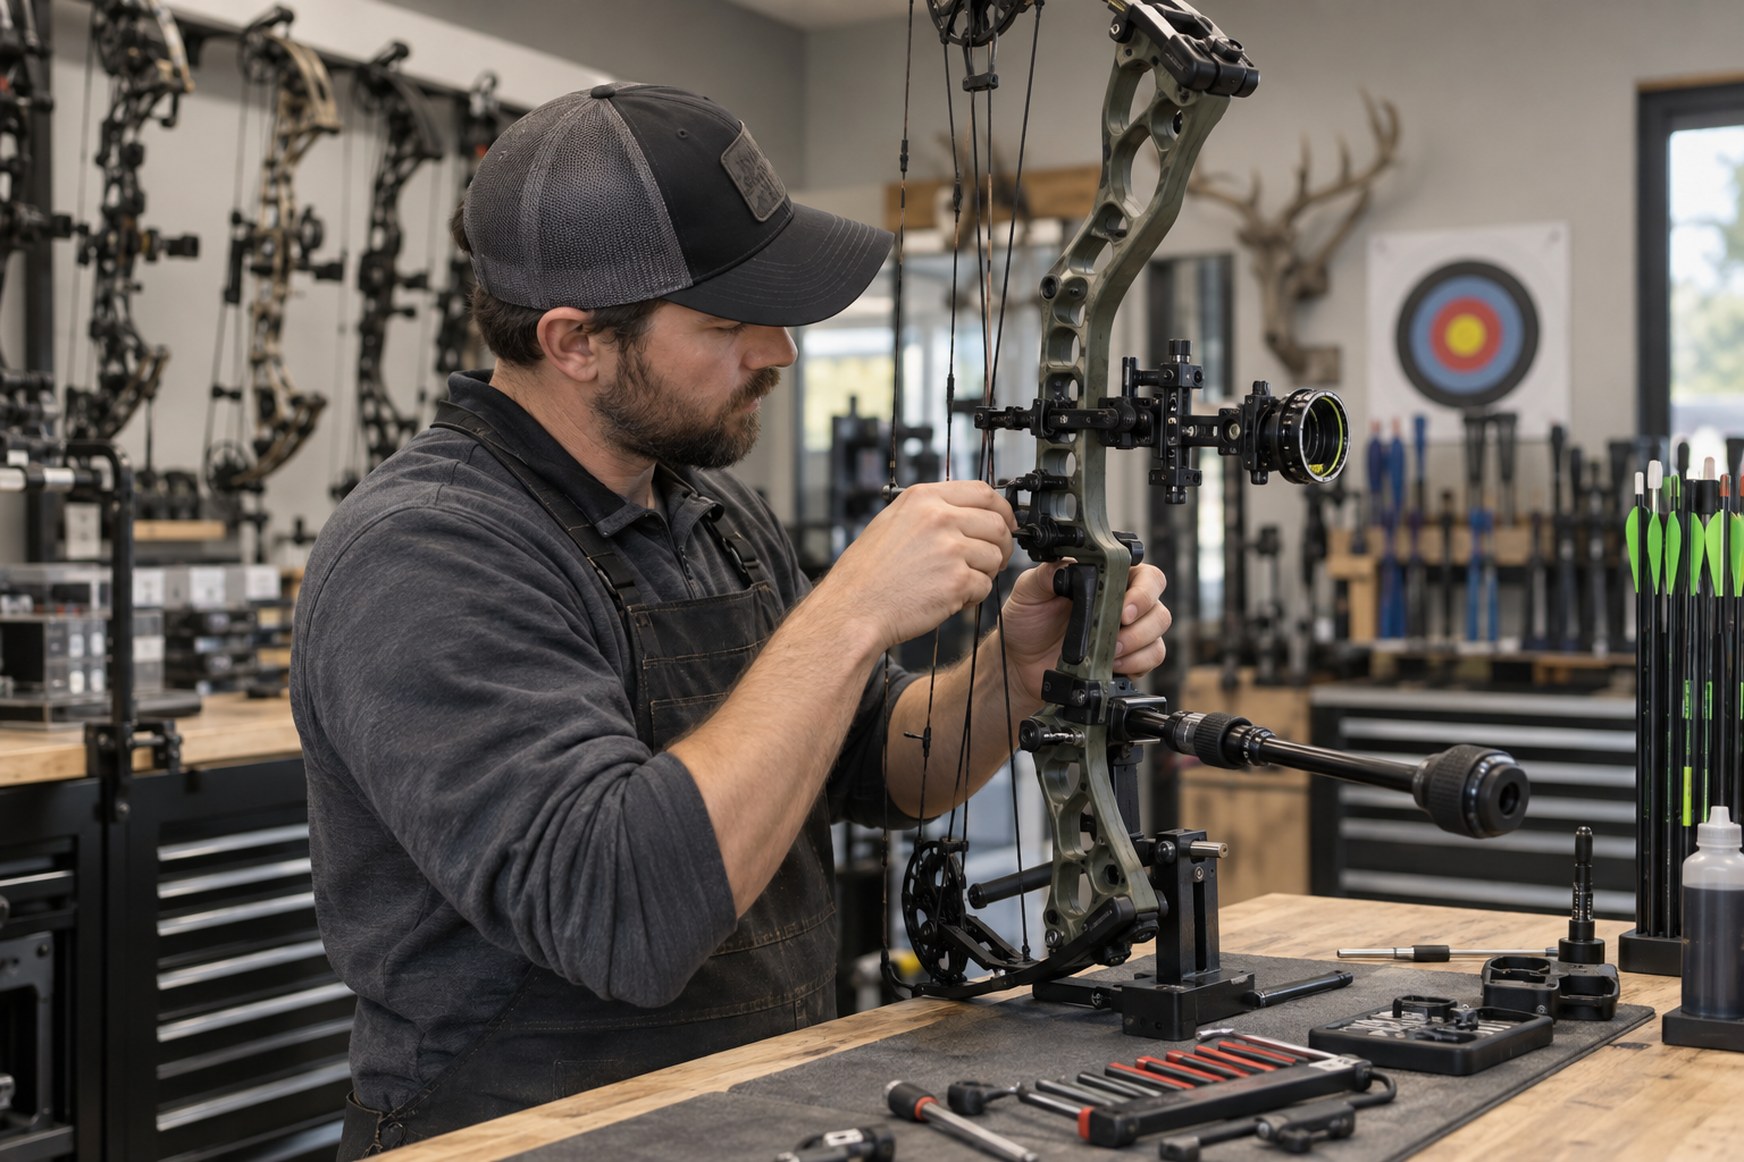
Short answer: set up the bow before tuning it. Confirm fit, manufacturer baseline settings and appropriate arrows first. Then use the method that suits your bow style — bare-shaft and group-based methods are particularly useful for recurve, while compound setup commonly incorporates paper tuning and center-shot verification. Make small changes, change one variable at a time, and confirm every result with repeated shots.
📋 Key Takeaways
- Setup comes before tuning — and tuning comes before sighting.
- Correct arrow spine is foundational; match arrows first, tune second.
- Recurve and compound need different workflows — they share principles, not procedures.
- Inconsistent form can masquerade as bad tuning — don't tune a moving target.
- Change one variable at a time, or you'll never know what worked.
- Manufacturer specifications beat generic internet numbers — and tuning is finished when the bow performs consistently, not when you can still find screws to move.
📑 Table of ContentsJump to any section in this guide 13 sectionsView contentsHide contents
- Setup vs Tuning vs Sighting
- The Bow-Tuning Order of Operations
- Prepare Before You Tune
- Recurve Setup and Tuning
- Compound Setup and Tuning
- Verify the Tune
- Bow, Arrow or Archer?
- Comparing Tuning Tests
- When to Retune and Record Your Baseline
- How Do You Know When to Stop Tuning?
- Common Tuning Mistakes
- Tools
- Frequently Asked Questions
Setup vs Tuning vs Sighting
Three different jobs, three different goals:
Setup
Establish the basic physical configuration: draw length, draw weight, limb/string alignment, rest, nocking point, center shot, and sight or peep placement where applicable.
Tuning
Adjust the bow-and-arrow interaction so the arrow leaves cleanly and flies repeatably.
Sighting
Move the aiming reference so impacts land where you intend.
The order matters
Setup first, rough tune, then sight — and remember: moving the sight does not fix poor arrow flight.
The Bow-Tuning Order of Operations
- Inspect equipment — serviceable limbs, string, cams and arrows first.
- Fit the bow to the archer — draw length and manageable draw weight.
- Match arrows — spine and length suited to the setup.
- Establish baseline geometry — rest, nocking point, center shot.
- Check clearance — nothing touching the arrow in flight.
- Shoot baseline groups — and record them.
- Run the appropriate tuning test — bare-shaft for recurve, paper/center-shot for compound.
- Make one small change — and only one.
- Re-test — with several shots, not one.
- Verify at distance — walk-back or group confirmation.
- Sight in — after flight is clean.
- Record final settings — so you can reproduce or rebuild them.
Prepare Before You Tune
Before You Touch a Screw
- Limbs, riser, cams, string and cables appear serviceable — no cracks, fraying or loose hardware.
- Fasteners are secure per manufacturer guidance.
- Arrows are straight and undamaged; nocks and fletching are consistent.
- Arrow spine is appropriate for the setup (see the next section).
- Draw length and draw weight are sensible for you.
- Rest and string components are installed correctly.
- No obvious clearance problem.
- You can shoot repeatable groups right now — tuning a bow while your form swings wildly is chasing fog.
Match the Arrow First
Easton's tuning guidance treats correct spine as foundational — and for good reason: a badly mismatched arrow can look like every tuning problem at once. Spine is the arrow's stiffness; the shaft's static spine on a chart and its dynamic behavior in flight are related but not identical. Relevant variables include shaft spine, shaft length, point weight, draw weight, draw length, bow style and release method.
The right first step is a current manufacturer arrow-selection chart or tool for your bow setup — then verify through tuning. Don't try to force a radically mismatched arrow to tune through extreme adjustments; that's polishing a mismatch instead of fixing it.
Recurve Setup and Tuning
Recurve Baseline Setup
The baseline elements, in practical order:
- Safe stringing — use a proper bow stringer and the correct string for the bow.
- Limb seating and alignment — limbs seated correctly; check alignment where the bow allows adjustment.
- Brace height — set to the manufacturer's recommended range, not a universal internet number.
- Tiller — follow manufacturer guidance for your bow and shooting style.
- Arrow rest and plunger — installed per the component's instructions; center shot as a starting point.
- Nocking point — set with a bow square; a common starting point is slightly above square, but verify with your own testing.
- Sight and stabilizer baseline — mounted level and centered where applicable.
- Arrow match and clearance — confirmed before tuning starts.
Traditional and Olympic-style recurves don't have identical adjustment possibilities — a simple wooden recurve may only offer brace height and nocking point, while an Olympic riser adds limb alignment, tiller and a plunger. Tune what your bow actually has.
Recurve Tuning Order
- Baseline setup as above.
- Shoot groups at a comfortable distance — record them.
- Verify nocking point and vertical behavior (bare-shaft or group comparison).
- Bare-shaft testing for spine and center-shot questions.
- Adjust only what the evidence supports — one variable at a time.
- Refine center shot and plunger where applicable.
- Walk-back or group verification at increasing distance.
- Fine-tune only when your form is sufficiently repeatable.
Reputable methods differ in the fine details — some archers swear by bare-shaft first, others by nocking-point first. The sequence above is a practical general workflow, not the only valid one.
Bare-Shaft Tuning
A bare shaft is an arrow shot without fletching. Fletching steadies the arrow in flight; removing it makes the shaft reveal launch behavior that fletching normally masks. The method: shoot bare shafts alongside fletched arrows and compare where the two groups land.
- Form matters more — a bare shaft amplifies your release errors as loudly as it amplifies tuning errors.
- Multiple shots matter — several bare shafts and several fletched, never a single arrow as a verdict.
- Vertical comparison (bare group above/below fletched) points at nocking point questions.
- Horizontal comparison points at spine, center shot or plunger questions — but the correction direction depends on your setup, handedness and method, so don't apply a one-line internet fix blindly.
And a safety rule worth repeating: never shoot bare shafts with broadheads — unfletched broadhead flight is erratic and dangerous. Broadhead verification comes after the field-point tune is acceptable.
Compound Setup and Tuning
Compound Baseline Setup
- Draw length — set correctly for you; everything downstream depends on it.
- Draw weight — a weight you can draw smoothly and hold calmly.
- Rest mounting — per the rest manufacturer's instructions, with center-shot as a starting point.
- Sight mounting — level and aligned to the string plane.
- D-loop and nocking point — consistent, square placement.
- Peep alignment — at a height that works with your anchor and sight.
- Arrow match — spine and length per the manufacturer chart.
- Clearance — fletching, rest and cables all clear the arrow's path.
- Cam timing/synchronization — checked where applicable to your cam system.
Cam systems vary — single-cam, hybrid and binary designs are not identical — so there is no universal cam instruction. Use the manufacturer's setup documentation for your bow.
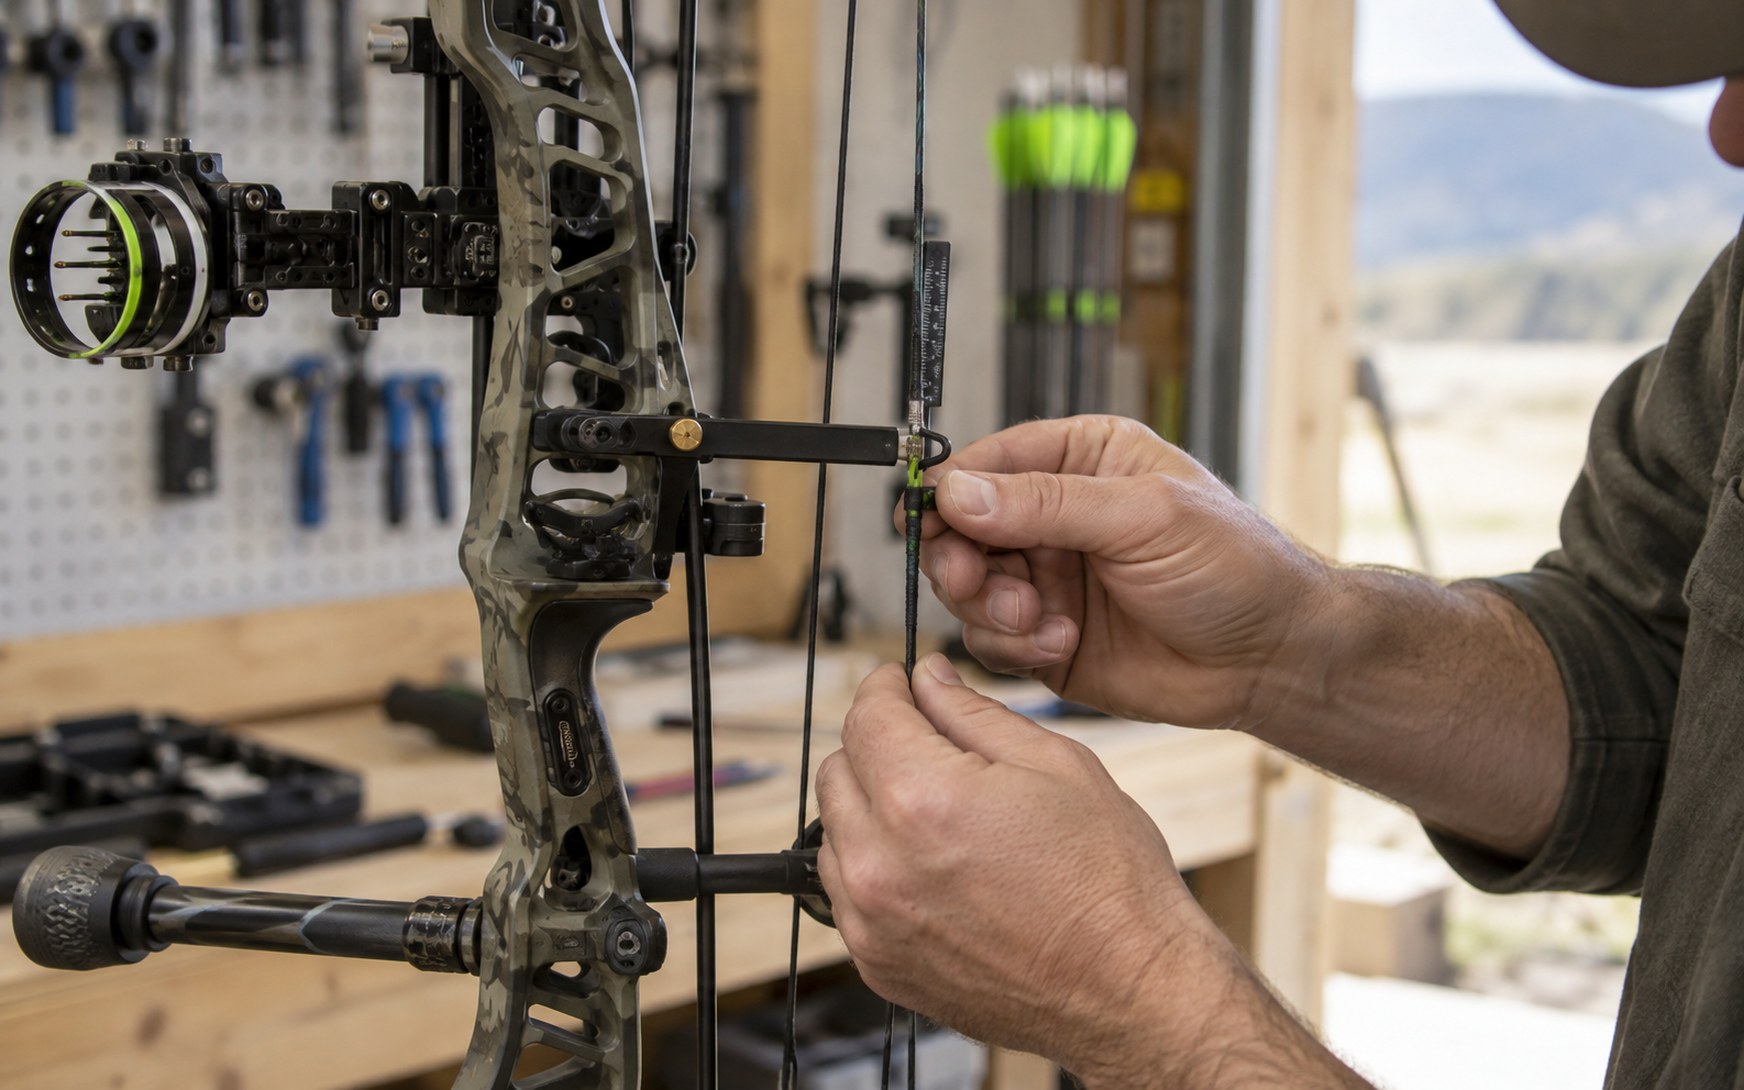
The Professional-Service Boundary
Know the line between what you adjust and what a pro shop services:
Normal user adjustments
Rest position, sight movement, nocking point/D-loop checks, plunger adjustments, brace height on recurves, draw-weight adjustments within the bow's designed range.
Often needs a pro
Anything requiring a bow press — strings and cables, cam work, module changes on some bows — plus draw-board checks and cam timing on systems without user adjustments. If a procedure requires a press and you don't have one: use a qualified pro shop. Never improvise a press.
Paper Tuning
Paper tuning evaluates how the arrow is oriented immediately after launch: you shoot through a sheet of paper a few feet away and read the tear. It's primarily a compound checkpoint and a rough diagnostic — one piece of evidence, not a verdict.
A clean tear doesn't guarantee perfect groups at every distance, perfect broadhead flight or perfect form. Treat paper as the rough pass; verify with walk-back or groups afterward.
Paper Tear Troubleshooting
A paper tear is a symptom, not a diagnosis — multiple causes can produce similar tears, so investigate in order:
| Tear direction | Investigate first | Then |
|---|---|---|
| Tail high / low | Nocking point and rest height | Clearance, then form (grip and follow-through) |
| Left / right | Center shot and rest position | Arrow spine/reaction, grip torque, cam or system adjustment where applicable |
| Multiple directions, inconsistent | Shooter consistency first | Loose hardware, then arrow damage |
Shoot with the same arrow for paper tests and only adjust after two or three consistent shots show the same tear.
Verify the Tune
Clearance
Contact between the fletching and the rest, riser or cables creates confusing tuning results that no screw adjustment will fix cleanly. Look for wear marks on vanes and rest components; a common diagnostic is dusting the suspect area with a fine powder or marking it with lipstick-style media and shooting — if the media transfers, something is touching. Fix clearance problems before fine-tuning anything else.
Walk-Back / Center-Shot Verification
Walk-back testing reveals horizontal alignment as distance increases: aim at a vertical line and shoot at increasing distances. If impacts drift consistently to one side as distance grows, your center shot or rest position needs a small correction. Paper and walk-back answer different questions — paper shows launch orientation, walk-back shows alignment over distance. Use your range's distances and your own skill level; there's no single mandated sequence.
Group and Fine Tuning
The ultimate purpose of tuning is not beautiful paper — it's consistent arrow flight and repeatable groups. Once the baseline is good, small changes get evaluated through actual groups. But fine tuning only pays off when your execution is consistent enough that a one-screw click is detectable above your own shot-to-shot variation. If your groups are dominated by form swings, more practice beats more adjustments. For the form side of the equation, see perfecting your bow and arrow skills.
Bow, Arrow or Archer?
When something's wrong, work the decision tree before touching anything:
Suspect the bow
Loose hardware, string or cable changes, rest movement, cam timing drift, clearance contact.
Suspect the arrow
Wrong spine, damaged shaft, inconsistent nocks or point weight, bad fletching, one persistent flyer.
Suspect the archer
Grip torque, inconsistent anchor, release variation, fatigue, plucking, poor follow-through.
These are clues, not remote diagnoses — and no article can diagnose dangerous equipment from a photo. When in doubt about hardware, a pro shop inspection is the safe answer.
The Form-Before-Fine-Tune Rule
The distinction matters. A beginner doesn't need elite form to deserve a safe, sensible baseline setup — that should happen immediately. But high-resolution tests like bare-shaft fine tuning and micro group-tuning become less meaningful when shot execution varies a lot. So: baseline early, fine-tune later as your repeatability improves. Don't wait to be "good" before setting up your bow; do wait before chasing quarter-inch bare-shaft perfection.
Comparing Tuning Tests
Tuning Test Comparison
| Method | What it tells you | Commonly useful for | When to use it | Limitations |
|---|---|---|---|---|
| Paper tuning | Launch orientation right after release | Compound | Rough pass during setup | Doesn't guarantee groups at distance |
| Bare-shaft tuning | Spine, nocking point, center shot | Recurve (also some compound) | After baseline setup | Demands repeatable form; never with broadheads |
| Walk-back tuning | Horizontal alignment over distance | Both | Fine verification after rough tune | Needs enough range distance |
| Group / fine tuning | Real-world arrow flight and consistency | Both | Final stage, repeatable form | Slow; requires honest self-assessment |
| Broadhead verification | Hunting arrow alignment | Bowhunters only | Before the season | Not needed for target archers |
Broadhead Verification (Hunters)
Fixed-blade broadheads steer more than field points and can reveal alignment problems dramatically. Before the season, bowhunters should verify their actual hunting setup — same arrows, same broadheads — groups with their field-point tune. If broadheads group differently, small alignment refinements usually bring them back. This section applies to hunters only; target archers can skip it entirely. For the hunting side of archery, start with mastering the art of bow hunting.
When to Retune and Record Your Baseline
When Does a Bow Need Retuning?
- New string or cables — full re-check.
- Different arrow shaft, spine or length — re-tune arrows.
- Major point-weight change — re-check spine behavior.
- Changed draw weight or draw length — re-baseline.
- New rest or plunger — re-establish center shot.
- Cam or module configuration change — compound re-setup.
- Impact or drop — inspect, then verify.
- Unexplained change in grouping or flight — investigate before adjusting.
Small accessory changes usually need a proportional re-check, not a tune from zero.
Record Your Baseline
Write these down so you can rebuild or diagnose later:
| Recurve | Compound |
|---|---|
| Brace height | Draw length |
| Tiller (where applicable) | Peak draw weight |
| Nocking point | Rest position |
| Center shot / plunger baseline | Nocking point / D-loop position |
| Draw weight on the fingers | Peep height |
| Arrow specification | Arrow specification |
How Do You Know When to Stop Tuning?
Stop chasing microscopic adjustments when arrow flight is stable, groups are repeatable, your chosen test confirms the setup, and the bow performs correctly for your discipline — and when additional tiny changes stop producing reliable improvement. A perfect-looking paper hole is not a reason to keep adjusting; it's the definition of a solved problem. Archers famously overthink already-good results — if the bow shoots better than you do, the bow is done. Practice.
Common Tuning Mistakes
- Changing multiple variables at once — you'll never know what worked.
- Tuning before matching arrows — spine first, screws second.
- Copying someone else's exact measurements — your bow, your setup, your numbers.
- Using universal internet numbers — manufacturer specs win.
- Tuning around poor clearance — fix contact first.
- Treating one bad shot as data — two or three consistent shots, then adjust.
- Moving the sight to fix poor arrow flight — sighting is the last step, not the first.
- Cutting arrows too aggressively during testing — small steps; shafts only get shorter.
- Tuning while fatigued — tired shots lie.
- Blaming equipment for inconsistent form — the Bow/Arrow/Archer tree above.
- Bow-press work without the right equipment or knowledge — pro shop.
- Chasing a "perfect" paper result indefinitely — stop when it's consistent.
Tools
- General: bow square, manufacturer manual and specs, appropriate hex/Allen keys, a measuring tool, a notebook or phone for settings, a target and range, matched arrows.
- Recurve-specific: a bow stringer, plunger tools where applicable, one or two bare shafts.
- Compound-specific: a paper frame, a release, appropriate setup tools.
- Specialist (pro-shop territory): bow press, draw board, specialized cam tools. You do not need to own these — that's what shops are for.
Frequently Asked Questions
Tuning is adjusting the bow and arrow so they work together cleanly — the arrow leaves the bow straight, flies without excessive wobble and groups repeatably. Setup builds the baseline first; tuning refines the bow-and-arrow interaction; sighting only moves where your groups land.
Yes — at least enough to establish clean, consistent arrow flight. Moving the sight only shifts where the group lands; it cannot fix poor arrow flight. Rough-tune first, then sight, then fine-tune as your form improves.
They share principles but not procedures. Recurve tuning typically centers on brace height, nocking point, center shot, plunger and bare-shaft testing. Compound tuning centers on draw length, rest position, center shot, paper tuning and walk-back verification, with cam timing as an additional variable. Use the workflow for your bow style.
Paper tuning is a useful rough diagnostic for compounds — it shows how the arrow is oriented immediately after launch. It is a checkpoint, not a guarantee: a clean tear doesn't automatically mean perfect groups at every distance. Most compounds get paper-tuned roughly, then verified with walk-back or group testing.
You can, and some archers do it as a rough check — but recurve tuning traditionally relies more on bare-shaft testing and group-based methods, because finger release and the plunger interact differently than a compound's mechanical systems.
You shoot an arrow without fletching alongside fletched arrows and compare where they land. The bare shaft exaggerates small launch problems, revealing spine and tuning issues more clearly. It demands repeatable form and multiple shots — one bad bare shaft is not a tuning verdict.
Yes — heavily. High-resolution tests like bare-shaft and fine group tuning become less meaningful when shot execution varies a lot. Get a sensible baseline early, then fine-tune as your repeatability improves. Inconsistent form often masquerades as bad tuning.
Re-check whenever something fundamental changes: new string or cables, different arrows, a major point-weight change, a different rest or plunger, changed draw weight or length, or an unexplained change in grouping or arrow flight. Small accessory changes usually need a proportional re-check, not a full tune from zero.
Many basic adjustments — rest position, sight movement, nocking point checks — don't require a press. But anything involving pressing the bow, cam work or strings and cables needs the correct equipment and experience. If a procedure requires a press and you don't have one, use a qualified pro shop.
When arrow flight is stable, groups are repeatable, your chosen test confirms the setup, and the bow performs correctly for your discipline — and when additional tiny changes stop producing reliable improvement. A perfect-looking paper hole is not a reason to keep adjusting; it means the problem is solved.