
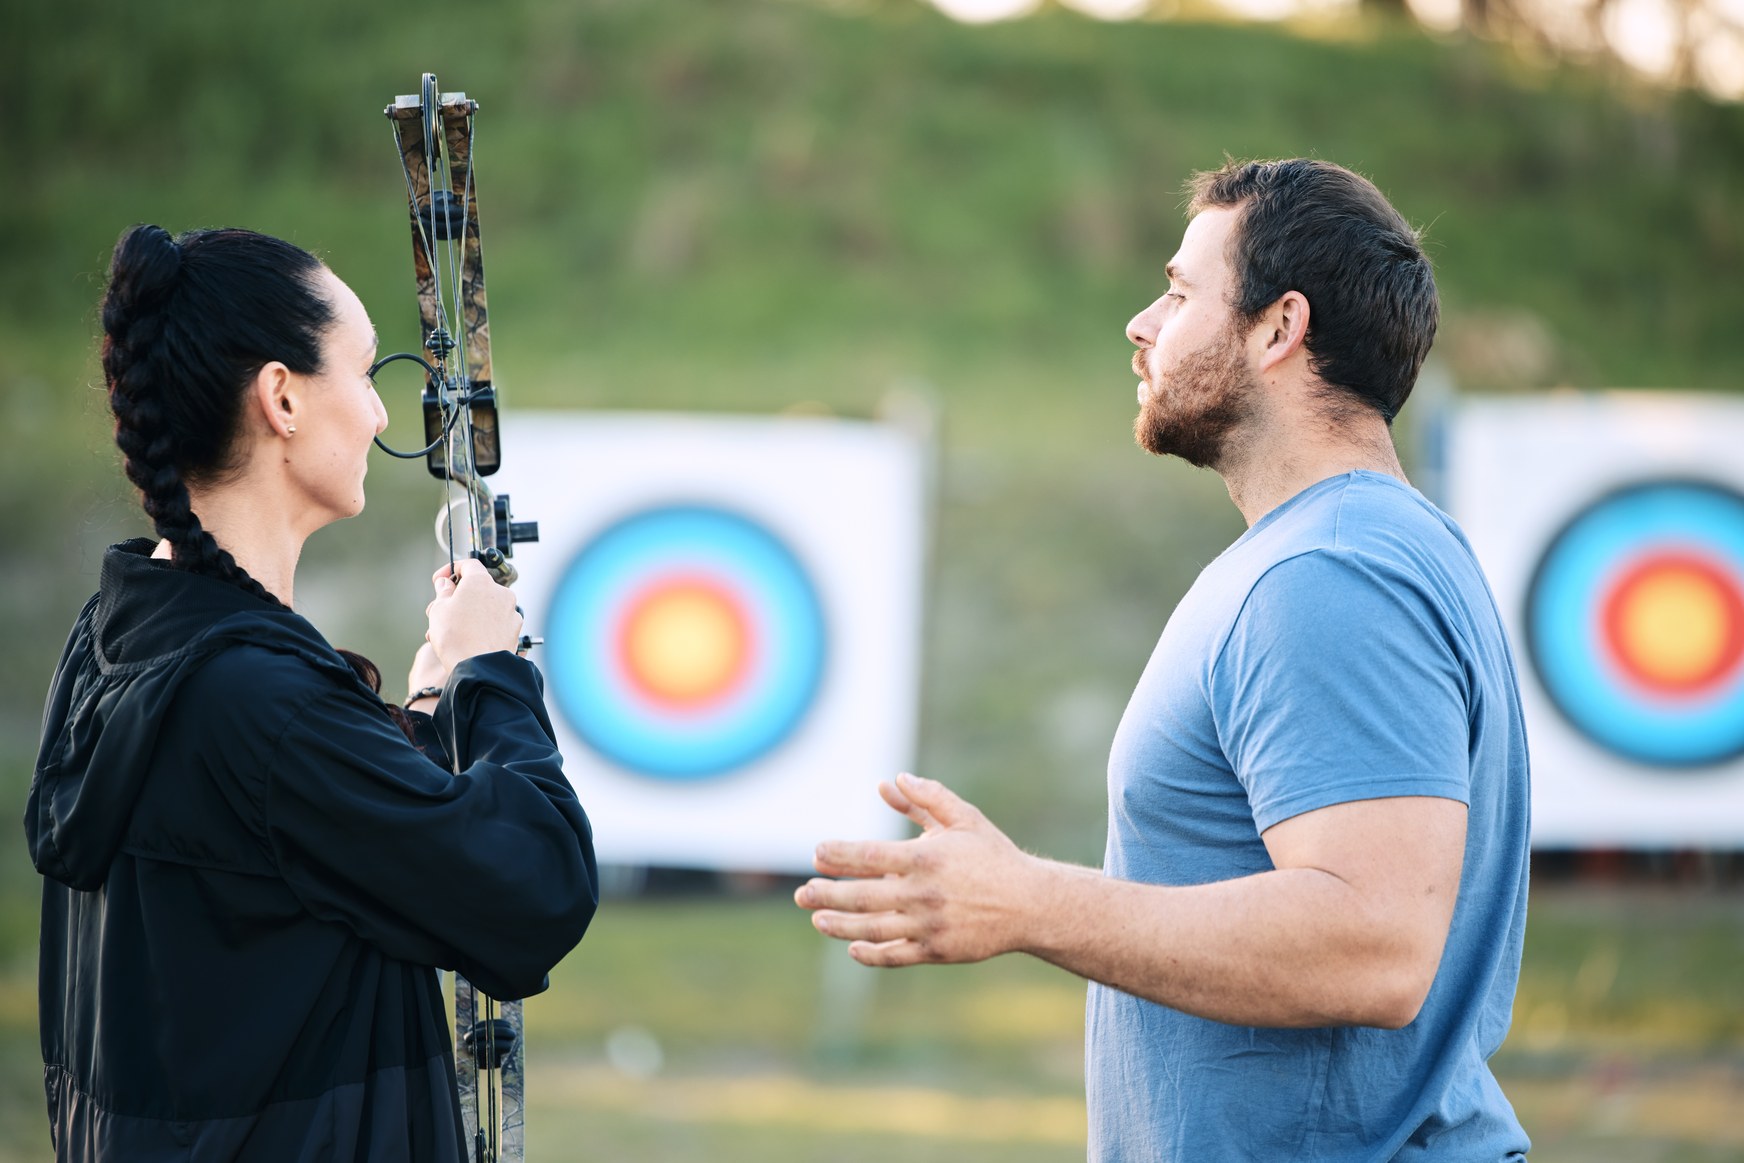
Short answer: the easiest and safest way to start archery is to book a beginner session at a range, club or pro shop, use rental or club equipment, learn basic range safety and form, and try different equipment before buying your own bow. Programs differ by location, but this sequence — experience first, purchase later — avoids the most common and most expensive beginner mistakes.
📋 Key Takeaways
- Try before you buy — one lesson with rental gear teaches you more than any shopping research.
- Safety and repeatable form come before distance or score.
- A lighter, properly fitted bow is better for learning than extra draw weight.
- Arrows must match your bow and setup — mismatched arrows hurt accuracy and safety.
- A club, range or instructor can prevent expensive beginner mistakes before they happen.
📑 Table of ContentsJump to any section in this guide 17 sectionsView contentsHide contents
- Start Archery in 7 Steps
- What Kind of Archery Do You Want to Do?
- Recurve, Compound, Barebow or Traditional?
- Draw Weight: Why Less Is More at First
- Draw Length, Handedness and Fit
- Beginner Equipment: Need Now vs Can Wait
- How Much Does It Cost to Start?
- Your First Archery Lesson: What to Expect
- Range Safety Basics
- Your First Shot Cycle
- Your First 30 Days in Archery
- Common Beginner Mistakes
- Can You Practise in Your Backyard?
- When Should You Buy Your First Bow?
- Beginner Glossary
- Where Archery Can Take You
- Frequently Asked Questions
Start Archery in 7 Steps
This is the whole beginner journey in one glance — the rest of the article explains each step:
- Decide what attracts you to archery — casual target shooting, competition, 3D, history or eventual hunting all lead to slightly different paths.
- Find a safe place to try it — a local range, club or pro shop with a beginner program.
- Take a beginner session and use rental or club gear — nothing to buy yet.
- Learn range safety and etiquette — the rules that keep everyone safe.
- Try the main bow styles — recurve, compound and others if available.
- Get fitted before buying equipment — draw length, draw weight and handedness.
- Build a repeatable shot and practise consistently — short, focused sessions beat long, tired ones.
What Kind of Archery Do You Want to Do?
Archery splits into several paths, and knowing which one attracts you shapes everything that follows:
- Recreational target archery — indoor or outdoor lanes at a range; the default starting point for most adults.
- Field archery — walking a course and shooting at targets at varied distances and angles.
- 3D archery — foam animal targets along a trail; popular with bowhunters and casual shooters alike.
- Traditional and barebow shooting — recurves and longbows without modern sights; pure form and history.
- Bowhunting — a later, specialized path with its own legal requirements, education and equipment standards.
For the full picture, read our guide to the different types of archery. This article focuses on the beginner path that applies to all of them.
Recurve, Compound, Barebow or Traditional?
Four bow families cover almost everything a beginner will meet. None is universally best — each feels different:
Recurve
Simple, light and affordable. The standard teaching bow — its form fundamentals transfer to every other style. Olympic archery shoots recurve, and a takedown recurve lets you swap limbs as you grow.
Compound
A system of cams with let-off that reduces holding weight at full draw. Easier to shoot accurately early, but adds tuning, setup and cost. Dominant in bowhunting and popular indoors.
Barebow
A recurve shot without a sight or stabilizers, aiming by string position and instinct. Demanding, honest and increasingly popular as its own discipline.
Traditional / longbow
Single-piece or simple laminated bows shot instinctively. The hardest to shoot accurately at first, and the most rewarding for history-minded archers.
| Bow style | Mechanical complexity | Typical aiming setup | Learning feel | Common uses |
|---|---|---|---|---|
| Recurve | Low | Bare or simple sight | Direct and consistent | Teaching, target, Olympic |
| Compound | Higher | Peep + sight | Fast early accuracy | Hunting, indoor target |
| Barebow | Low | String walking / instinctive | Challenging, pure | Barebow competitions |
| Traditional | Lowest | Instinctive | Slowest to master | Traditional events, history |
Still torn? See our deeper longbows vs short bows comparison, or simply shoot all four at a range — feel decides faster than reading.
Draw Weight: Why Less Is More at First
Draw weight is how many pounds of force it takes to pull the string to your full draw — and it is the number beginners get wrong most often.
- Excessive draw weight hurts technique — you tense, shake, snatch the release, and groove habits that take months to undo.
- Gym strength doesn't transfer automatically — archery uses specific back and shoulder muscles in a specific pattern.
- Recurve and compound weight are not the same — a compound's let-off means you hold far less at full draw, so beginners can often manage a higher compound peak weight than recurve weight.
- You should control the bow calmly and repeatably — if you can't draw slowly and hold steady for a few seconds without straining, the weight is too high.
As a general example (not a rule): most adult beginners start recurve around 20–30 pounds, while adjustable compounds often start in the 30–50 pound range and are turned up later. Your coach or pro shop should confirm the right starting point for your build and goals. Lighter is never a failure — the strongest habit a beginner can build is a calm, repeatable shot.
Draw Length, Handedness and Fit
A few fit concepts you will hear at every range:
- Draw length — how far back you pull the string at full draw. It's set by your body, not your preference, and a bow that doesn't fit your draw length can't be shot consistently.
- Draw weight — covered above; fit it to your control, not your ego.
- Handedness — bows are built right- or left-handed based on which hand draws the string.
- Eye dominance — one factor an instructor may check, since many archers shoot best on their eye-dominant side.
- Arrow length and spine — arrows must match your draw length and bow weight. Spine is the arrow's stiffness; a too-weak or too-stiff arrow flies poorly and can be unsafe.
A wingspan-based estimate (wingspan divided by roughly 2.5) gives a starting idea of draw length — but it is an estimate, not a substitute for being measured at a range or pro shop. For a first compound especially, professional setup and fitting matter more than the bow's brochure numbers.
Beginner Equipment: Need Now vs Can Wait
Most beginner mistakes are buying things too early. Here's the honest split:
Need to start
A correctly fitted bow (or rental), matched arrows, a safe target and backstop where you shoot, an arm guard, and a finger tab or glove — or a release aid for compound.
Can wait
Expensive stabilizers, premium sights, rangefinders, advanced tuning equipment and big accessory collections. Fundamentals improve groups more than accessories do.
How Much Does It Cost to Start?
Three different questions hide inside this one:
- Trying archery — a beginner lesson with rental equipment typically runs roughly $20–50 depending on the range and program.
- Beginner recurve ownership — a basic setup (takedown bow, arrows, arm guard, finger tab, target) commonly lands around $150–300 in current US pricing.
- Beginner compound ownership — generally $300–700 for an adjustable entry compound, plus setup.
These are rough current examples, not fixed national prices — region, range, equipment choice, accessories and new-versus-used all move them. The cheapest archery is the one you start with rented gear at a range.
Your First Archery Lesson: What to Expect
Every program differs, but a typical beginner session covers something like this:
- A short safety briefing and the range's rules and commands.
- Equipment fitting — a bow that matches you, plus an arm guard and finger tab.
- Learning to hold, nock and draw safely before any shooting.
- Shooting at close range — many first lessons shoot blank targets from just a few yards so form matters more than aiming.
- Basic stance and anchor, then supervised repetition.
Before your first session: wear comfortable clothing without loose sleeves near the string, secure long hair, choose appropriate closed footwear if the range requires it, arrive early enough for the safety briefing, and ask in advance whether equipment is provided. Expect a little forearm string slap while learning — that's what the arm guard is for.
Range Safety Basics
These principles come from the safety framework shared by organized archery:
- Follow the range's commands — ranges use their own signals for "shoot" and "stop"; learn the specific system where you shoot rather than assuming.
- Shoot only toward your target and backstop — never shoot without a safe direction, and never intentionally shoot upward.
- Never dry-fire — drawing and releasing without an arrow can destroy the bow and injure you.
- Wait until the range is clear before stepping forward to retrieve arrows, and never stand directly behind someone pulling arrows from a target.
- Inspect equipment — cracked arrows or frayed strings get retired, not used.
- Keep people behind the shooting line while bows are up, and keep clothing and hair clear of the string.
Your First Shot Cycle
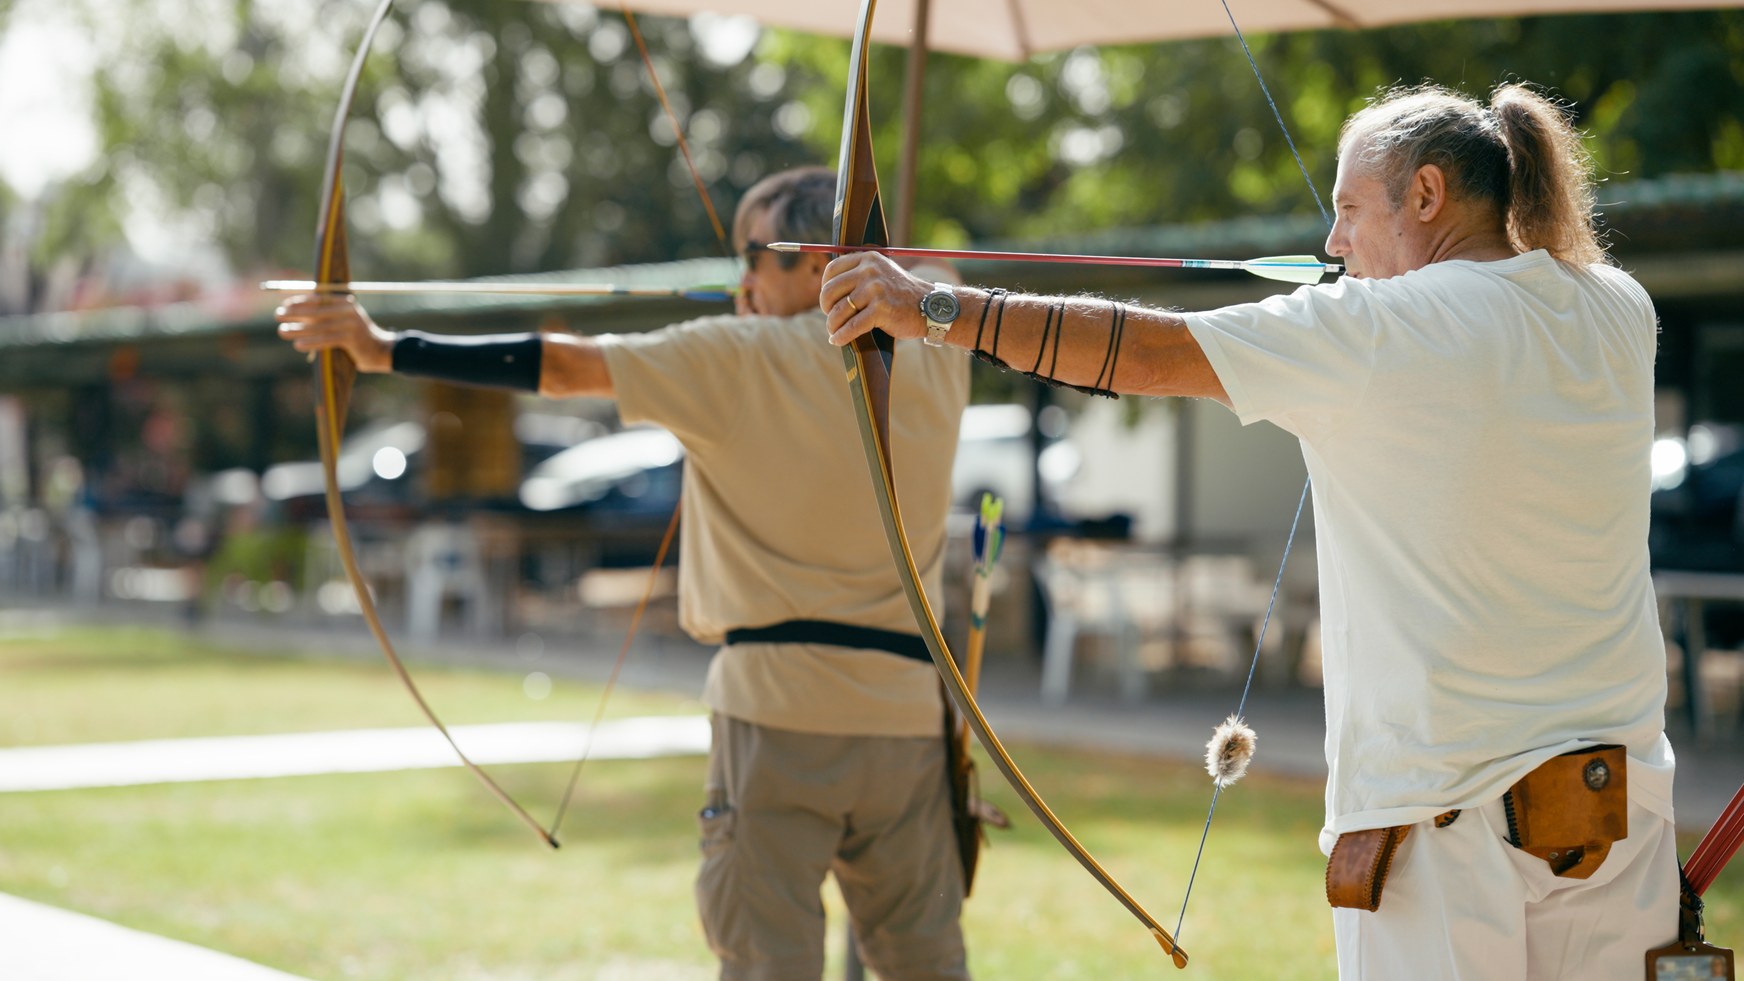
Every shot follows the same seven beats. This is the beginner overview — our how to draw a bow guide goes deep on each one:
Stance
Feet shoulder-width, standing comfortably sideways to the target.
Nock / set
Nock the arrow and set your bow hand and string fingers the same way every time.
Grip / hook
Relaxed bow hand; string hooked in the first finger joints.
Raise & draw
Lift toward the target and draw in one smooth motion from your back.
Anchor
String hand to the same reference point on every shot.
Aim / expand
Focus on a small spot; let the shot settle.
Release & follow through
Relax the fingers and hold your position until the arrow lands.
Your First 30 Days in Archery
A practical month-by-week rhythm — adjust it to your schedule and stop early whenever your form fades:
Safety + basic shot sequence
Learn range commands, equipment handling, and run the shot cycle slowly under supervision.
Repeatable stance, anchor, release
Shoot close and blank-bale; make the anchor and release identical every time.
Consistency and basic grouping
Move back gradually; aim for smaller, repeatable groups rather than lucky bullseyes.
Evaluate
Which bow style do you enjoy most? Is buying equipment now the right move, or keep renting?
Common Beginner Mistakes
Every one of these is normal — and every one has a simple correction:
- Buying a bow before trying archery — rent first; buy once you know what you enjoy.
- Starting with excessive draw weight — go lighter; control beats power.
- Buying mismatched arrows — match length and spine to your bow and draw.
- Focusing on distance too early — groups at 10 yards before distance at 30.
- Chasing score instead of repeatability — a repeatable shot scores eventually; the reverse isn't true.
- Gripping the bow too tightly — relax the bow hand; torque is the enemy.
- Inconsistent anchor — same spot, every shot.
- Dry firing — never release an empty bow.
- Shooting damaged arrows or equipment — inspect before every session.
- Buying accessories instead of practising — fundamentals outperform gear.
Can You Practise in Your Backyard?
Sometimes — but the honest answer starts with your local rules. City and county ordinances vary, so check what's allowed where you live before setting anything up. If it is allowed, you still need three things: a safe direction with nothing you could hit beyond the target, a proper target, and a real backstop that stops a missed arrow. A fence alone is not a safe backstop — arrows pass through more than people expect. When in doubt, practise at a proper range.
When Should You Buy Your First Bow?
You're ready to buy when you can answer these from experience, not from research: your preferred bow style, your draw length, a draw weight you control calmly, your handedness and setup, where you'll shoot, and a realistic budget. Fit and suitability beat spec-sheet numbers — a modest, well-fitted bow you shoot weekly will outshoot a premium bow that doesn't fit. This pillar article deliberately doesn't recommend named products; that's what a proper buying guide is for.
Beginner Glossary
- Anchor point — the fixed spot your string hand returns to at full draw.
- Backstop — the safe surface behind a target that stops arrows.
- Draw length — how far you pull the string at full draw.
- Draw weight — pounds of force needed to hold the bow at full draw.
- End — a set of arrows shot together (commonly three or six).
- Fletching — the vanes or feathers that stabilize the arrow in flight.
- Nock — the arrow's rear clip, and the action of attaching it to the string.
- Riser — the bow's central handle section.
- Spine — an arrow's stiffness rating.
- Target face — the printed scoring rings you aim at.
Where Archery Can Take You
Once the fundamentals click, archery opens into several directions: target (indoor and outdoor competition), field and 3D courses, traditional styles, competition from local leagues to international formats — and, for some, bowhunting. Hunting deserves a careful note: it carries additional legal requirements including licenses and education depending on your state, and it demands appropriate equipment and a high level of proficiency. If that path interests you, start with our bow hunting license guide and mastering the art of bow hunting. For everyone else: find a great range, then keep building with perfecting your bow and arrow skills.
Frequently Asked Questions
The basics are simple to learn in a session or two — the fundamentals are repeatable stance, a consistent anchor and a clean release. Precision takes patient practice, but a complete beginner can be shooting safely and enjoying the sport within the first hour of a lesson.
Most beginners start with a rental or club recurve — it is simple, affordable and the form it teaches transfers to other bow types. A takedown recurve is a common first purchase because limbs can be swapped as you grow. Try several styles at a range before deciding.
There is no universal winner. Recurve bows are simpler, lighter and teach fundamentals directly; compound bows are easier to shoot well early thanks to let-off, but add tuning complexity and cost. Try both at a range and choose the style you enjoy.
For a recurve, most adult beginners start around 20–30 pounds — enough to shoot comfortably at short range while keeping form controlled. Compounds let you start light and adjust upward. General rule: if you can't draw slowly and hold calmly for a few seconds, the weight is too high. Confirm with a coach or pro shop.
You don't strictly need them, but a beginner session at a range or club is the fastest, safest start. An instructor checks your form, teaches range safety and usually provides equipment — preventing habits that take months to unlearn.
Trying archery costs roughly the price of a lesson and rental — often $20–50. A basic beginner recurve setup (bow, arrows, armguard, finger tab, target) typically runs about $150–300, while beginner compounds generally start around $300–700. These are rough current US market ranges, not fixed prices.
Yes — most ranges and clubs rent or lend equipment, and beginner classes usually include everything you need. Starting with rental gear is the smartest way to learn before buying.
Start close — many first lessons shoot at blank targets from just a few yards while form is learned. Move back gradually as your groups tighten. Distance comes after repeatability, never before it.
Sometimes — but it depends on your local laws and the space you have. You need a safe direction, a proper target and a real backstop, and you must check current city, county and property rules first. A fence alone is not a safe backstop.
Two or three short, focused sessions per week beat one long tired session. Stop when your form starts to deteriorate — quality repetitions build skill, tired repetitions build bad habits.